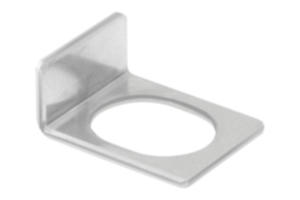
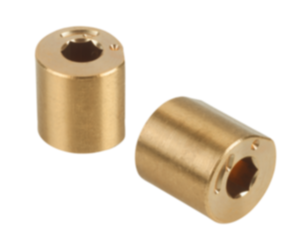
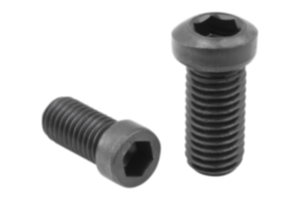
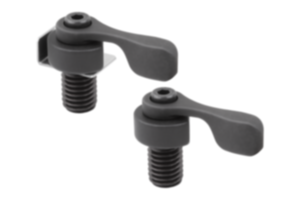
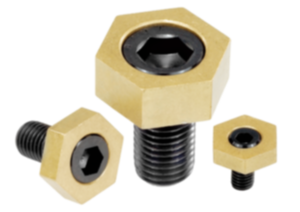
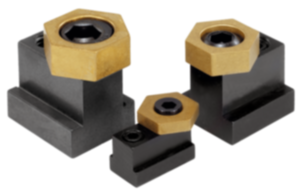
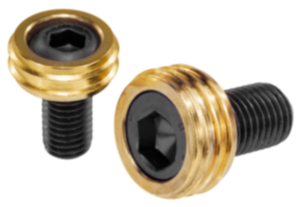
Cam screw with hexagon brass black grey RAL 7021 04435-10-08
Unità di vendita
16,92 €
Aggiunto al carrello
Denominazione
Vite eccentrica di serraggio
Versione 1
con dado esagonale
Versione 2
con leva di serraggio
Materiale
Corpo base
ottone
Colore
Corpo base
grigio nerastro RAL 7021
Materiale
Componente
acciaio da bonifica
Superficie
componente
brunito
A1=Lunghezza maniglia
91,1
A=Lunghezza maniglia
80,2
H3=Altezza impugnatura
60,2
L=Lunghezza filettatura
15
X=Filettatura
M8
B
11,5
Coppia
di serraggio
max. Nm
13,7
Dimensioni
3
Forza di serraggio
kN
1,5
H
43,2
H2
29,7
H4
65,4
H5
4,8
H6
16,2
S
10,2
S1
(corsa di serraggio)
1,01
SW
20,6
~ CONFLICT MINERALS 3TG status
3TG contained
~ CONFLICT MINERALS procurement
smelter not yet identified
~ CP65 substance 1 cancer & reproductive toxicity
lead and lead compounds
~ CP65 substance 2 cancer
carbon-black extracts
~ PFAS free?
yes
~ REACH SVHC-free?
no
~ REACh SVHC 1 name > threshold
lead
~ RoHS conformity
yes, with exemption
~ RoHS exemption/s
III/6a-I,6c
~ TSCA 6(H) conformity
yes
Descrizione
Material
Cam screw QT steel.
Hexagon brass.
Clamping lever high-performance thermoplastic, fibreglass reinforced.
Hexagon brass.
Clamping lever high-performance thermoplastic, fibreglass reinforced.
Version
Cam screw black oxidised.
Clamping lever black grey RAL 7021.
Clamping lever black grey RAL 7021.
Note
Cam screws with clamping levers can be used in a variety of ways for tool-free clamping. The the integrated clamping lever enables many elements to be rapidly clamped. The brass clamp nut offers a gentle yet extremely stable and secure clamping of workpieces. Even entire subplates can be equipped by using several cam screws with clamping lever.
Clockwise rotation is recommended for clamping. The marking on the cam screw should be on the right after clamping. (Screw in the cam screw as far as it will go, then turn it back one turn).
”S” = Distance from the workpiece to the screw centre (clamping screw).
Clockwise rotation is recommended for clamping. The marking on the cam screw should be on the right after clamping. (Screw in the cam screw as far as it will go, then turn it back one turn).
”S” = Distance from the workpiece to the screw centre (clamping screw).
Assembly
Clamping process:
1. Screw in the cam screw as far as it will go.
2. Screw the cam screw back one turn.
3. Position the workpiece.
4. Turn the cam screw clockwise to clamp the workpiece. (The marking on the cam screw should be on the right after clamping).
1. Screw in the cam screw as far as it will go.
2. Screw the cam screw back one turn.
3. Position the workpiece.
4. Turn the cam screw clockwise to clamp the workpiece. (The marking on the cam screw should be on the right after clamping).
Nota importante sul download dei modelli CAD
Per poter scaricare i nostri modelli CAD, occorre effettuare il login. Se non è stato ancora creato un account, si prega di registrarsi alla voce "Il mio account" (lato destro dello schermo) e di seguire le istruzioni.
Altri clienti hanno acquistato anche